 QuoteCloud
Before you start
You need the API & Zapier add-on on your company and access to your organisation’s settings. Create one client for each system you connect, so you can change or remove one without affecting the others. A client belongs to the company you’re working in, so check you’re in the right one. The pictures show QuoteCloud on a computer.
Want it done for you? The setup guide creates a client on your account and takes you through to your first request.
Open Manage Integrations
Open the API dashboard and choose Manage Integrations at the top right. If the add-on is off, this page shows the pricing and a button to turn it on.
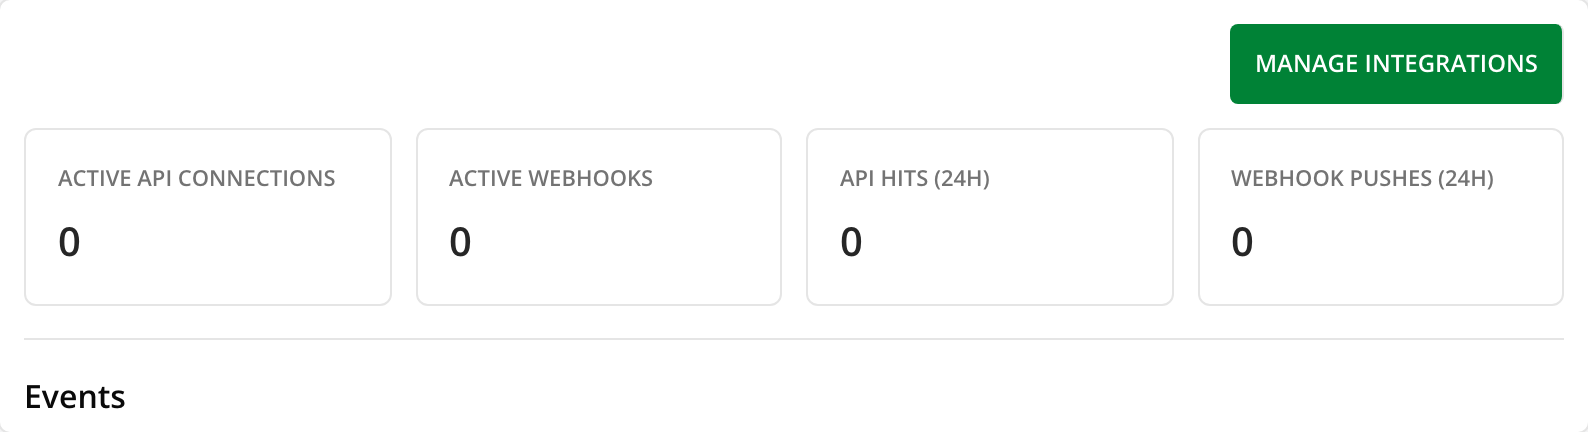 Open full size in a new tab
Start a new client
Open the OAuth Clients tab and choose New OAuth client. If this is your first client, there’s no button because the form is already open.
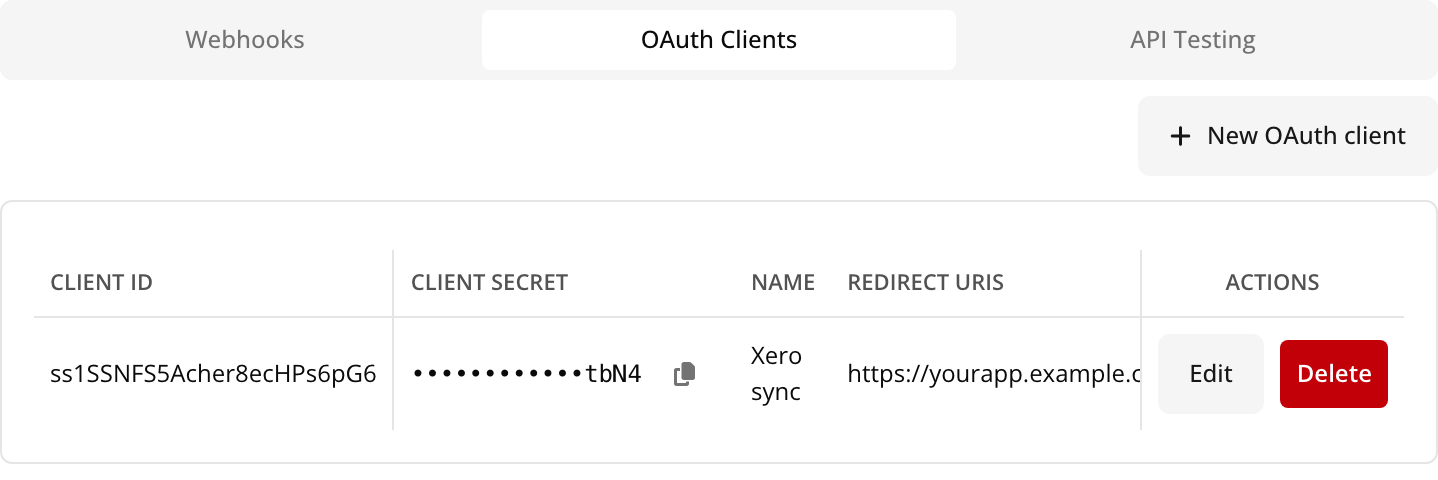 Open full size in a new tab
Fill in the form
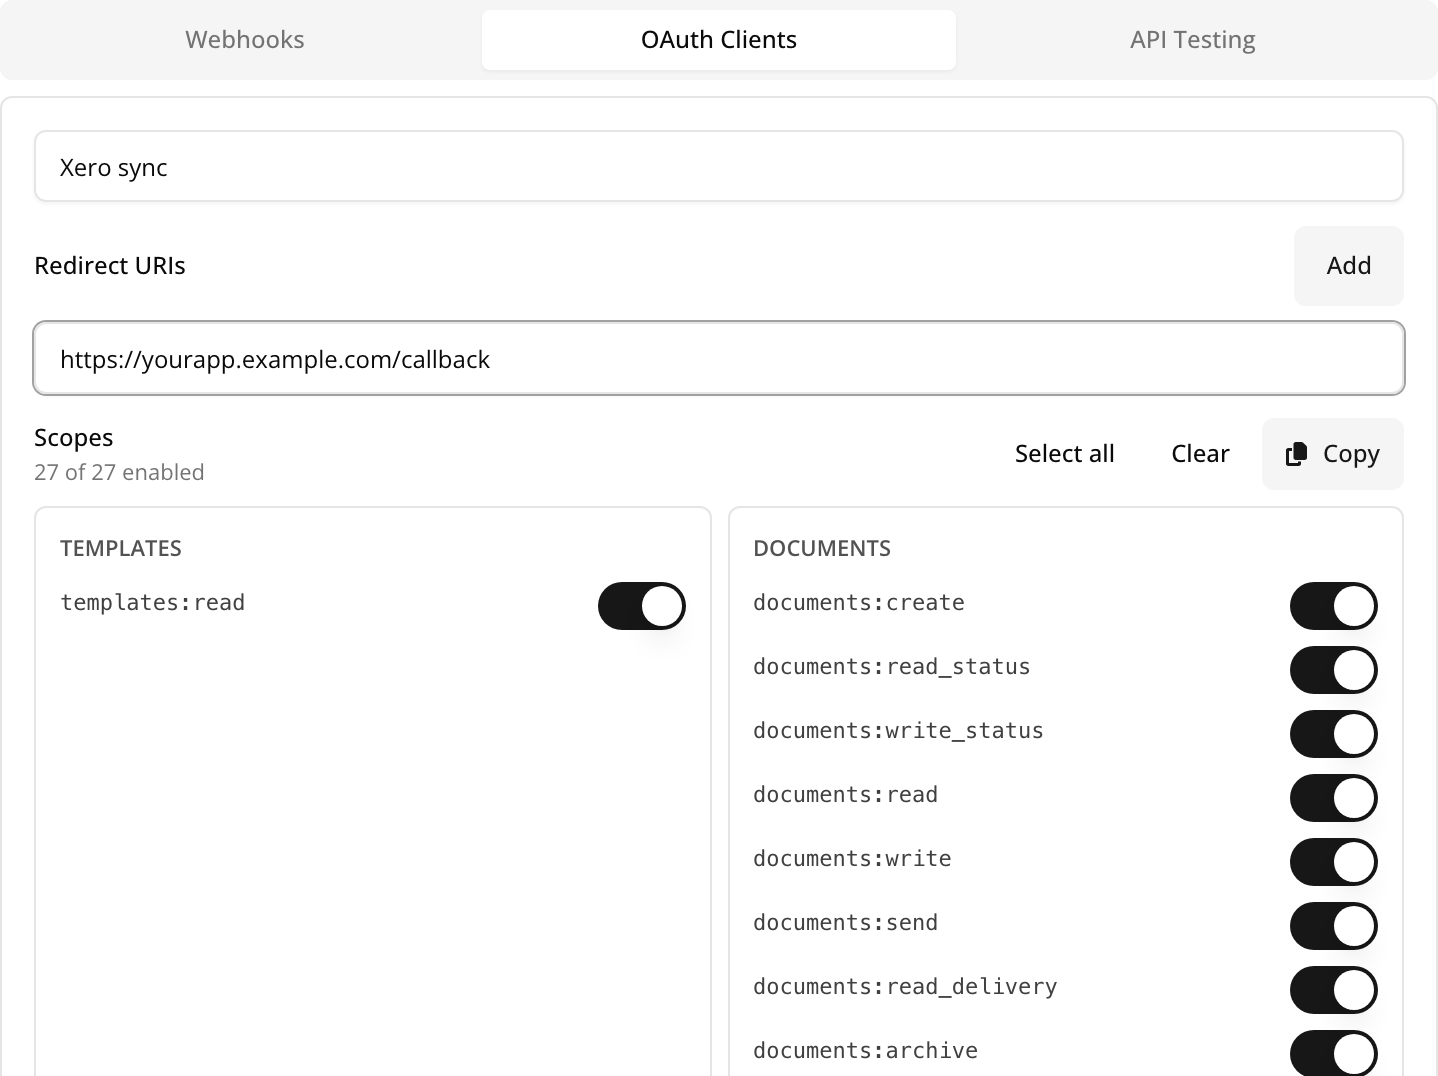
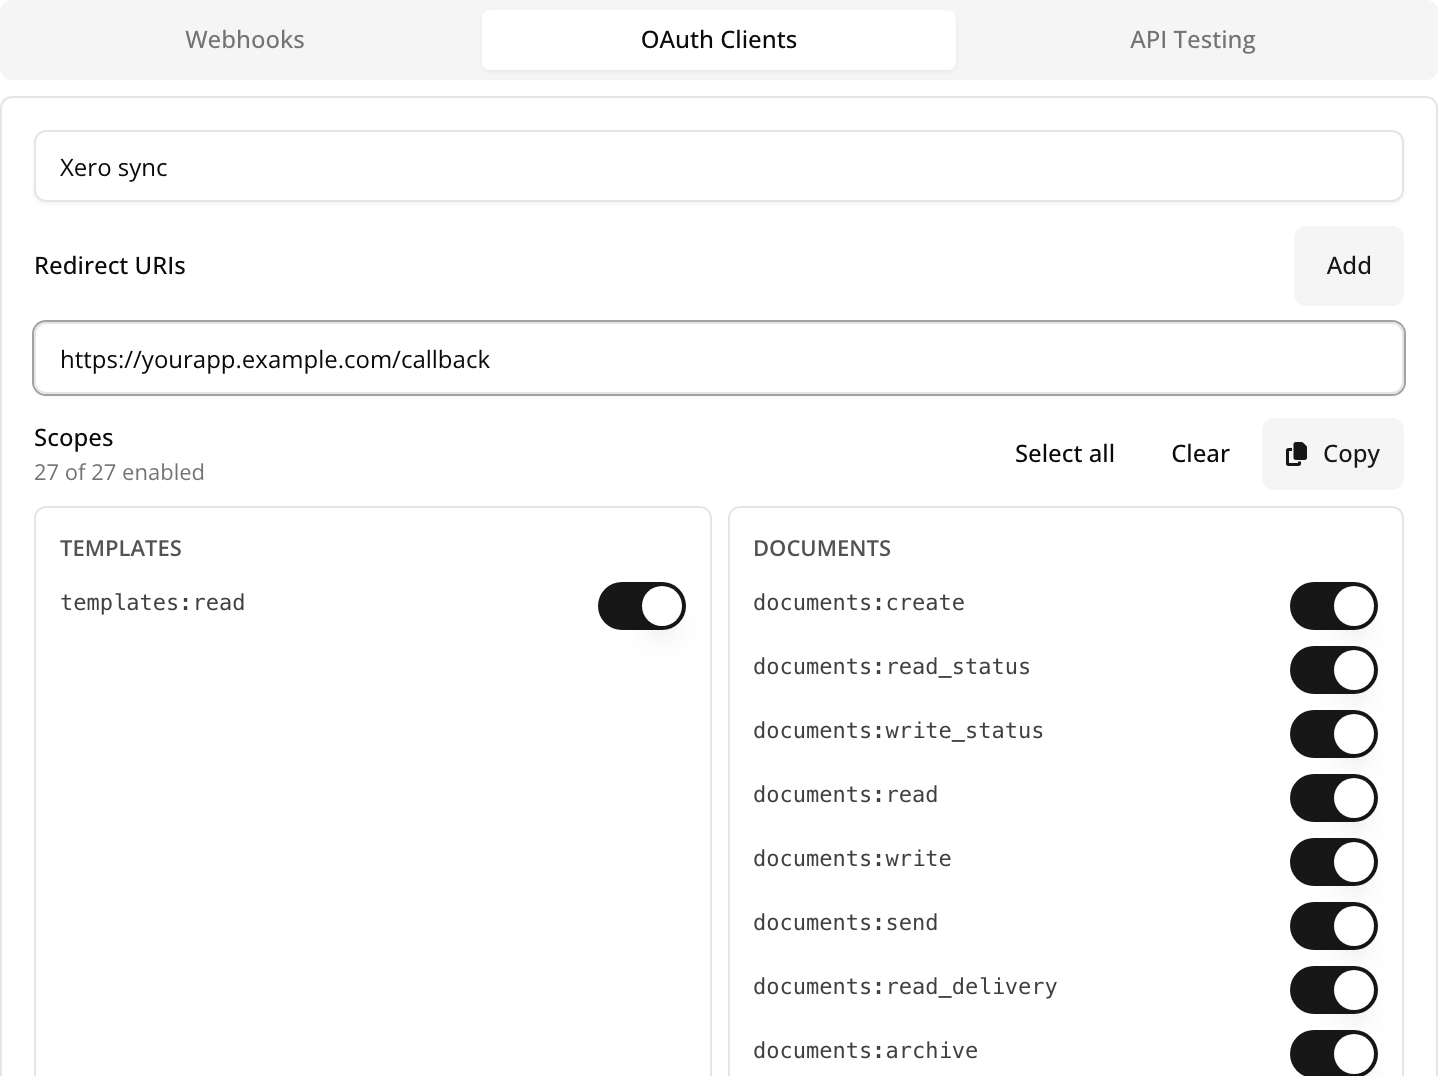 Open full size in a new tabNameA name you’ll recognise, such as the system you’re connecting.Redirect URIsThe page in your system that people return to after allowing access. It must use
https, orhttponlocalhostwhile you’re testing, and can’t contain#or a comma. Your authorization request has to send exactly the same address. Choose Add for more than one.ScopesWhat the connection is allowed to do. They’re all on to start with, so turn off what you don’t need. See what each one does.Scroll to the bottom of the form and choose Save OAuth Client.
Copy your Client ID and Client Secret
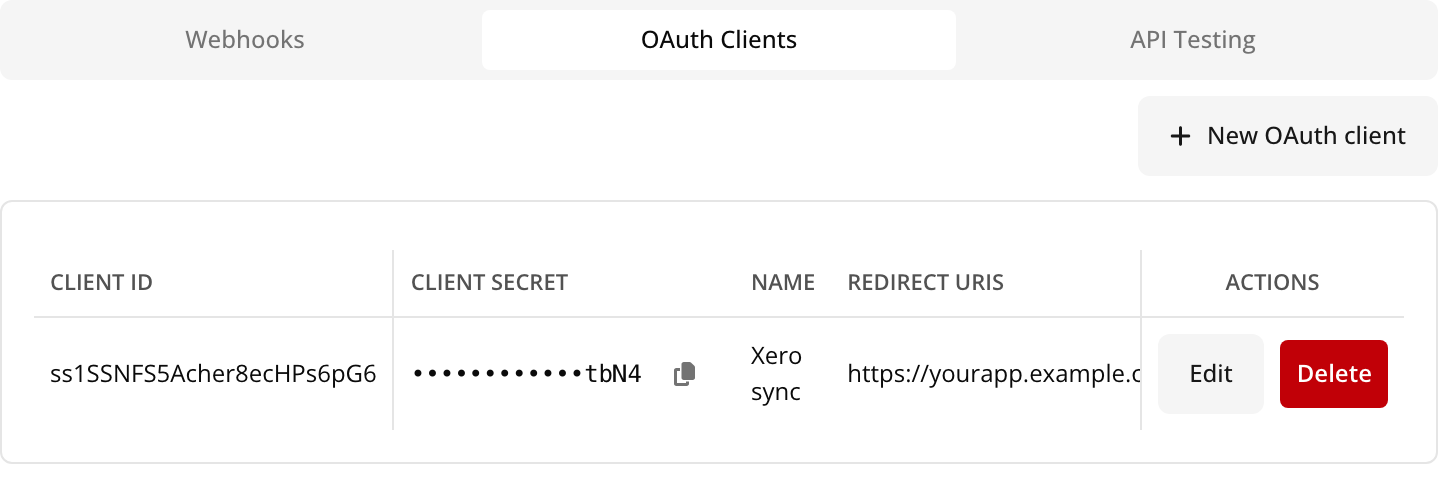
Your new client appears in the list. A message also shows the secret just after you save. If you miss it, the copy button beside the secret gets it for you.
 Open full size in a new tabClient IDPublic. It goes on every request as
client_id.Client SecretPrivate, like a password. Keep it on your server, and out of web pages, mobile apps and shared code. If it gets out, delete the client and create a new one.Connect your system
That’s your client ready. If you’re building the connection yourself, carry on from “Ask for access”. If a tool is asking you for addresses, give it these. They’re also under Connection details on the same tab.
Authorization URLhttps://app.quote.cloud/api/oauth/authorizeToken URLhttps://app.quote.cloud/api/oauth/accessTokenRefresh URLhttps://app.quote.cloud/api/oauth/refreshTokenDiscovery URLhttps://app.quote.cloud/.well-known/oauth-authorization-server

Changing a client later
Choose Edit in the list to change a client’s name, redirect URIs or scopes, or Delete to remove it. Deleting a client also cancels its tokens, so anything using it stops working straight away.